
Understanding Vapor Barrier Installation
What is a Vapor Barrier?
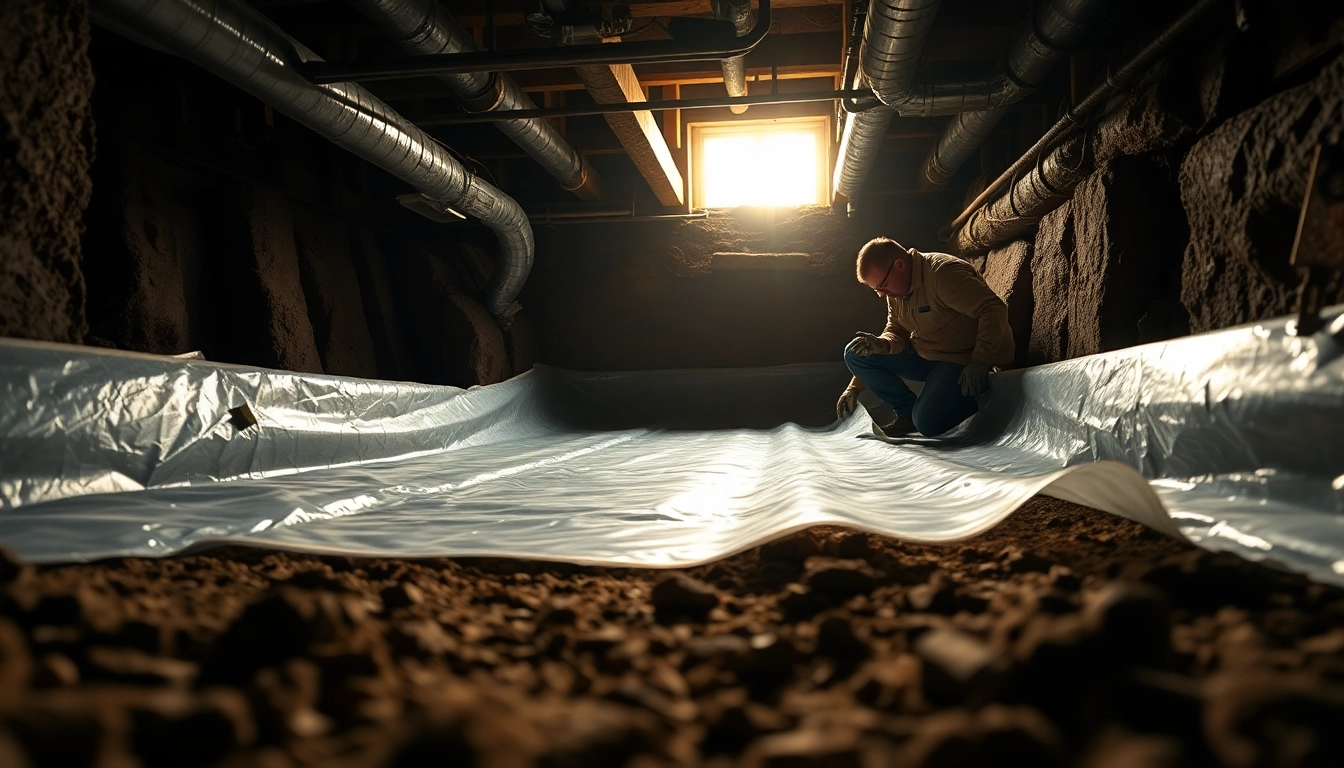
A vapor barrier is a critical component in construction that acts as a moisture retarder. Typically made from materials such as polyethylene or foil, these barriers help prevent moisture from the ground from infiltrating crawl spaces, basements, or other areas in contact with the earth. The primary goal of a vapor barrier is to mitigate the risks associated with excessive humidity, which can lead to mold growth, wood rot, and overall structural damage. Proper Vapor Barrier Installation is essential for maintaining a healthy environment within your home.
Importance of Vapor Barrier Installation
The significance of vapor barrier installation cannot be overstated. It plays a pivotal role in energy efficiency and moisture control. By acting as a shield, vapor barriers help in reducing heating and cooling costs. Homes without adequate vapor barriers often experience higher energy bills due to heat loss and increased humidity levels. Furthermore, an effective vapor barrier can prevent health issues related to mold and mildew, ensuring that the indoor air quality remains safe and breathable.
Common Myths About Vapor Barriers
Despite their importance, several misconceptions surround vapor barriers:
- Myth 1: Vapor barriers are unnecessary in warm climates. Reality: Even in warmer areas, moisture can permeate surfaces, making vapor barriers crucial.
- Myth 2: Any plastic can serve as a vapor barrier. Reality: Not all plastics are strong enough to function effectively as vapor barriers; specific materials are designed for this purpose.
- Myth 3: Vapor barriers trap moisture. Reality: They do not trap moisture; instead, they regulate it, allowing walls and foundations to breathe without allowing unwanted infiltration.
Steps for Successful Vapor Barrier Installation
Gathering Necessary Materials
The first step in vapor barrier installation involves gathering the right materials. You’ll need:
- High-quality polyethylene sheeting (preferably 10-20 mil thickness)
- Seaming tape or adhesive specifically designed for vapor barriers
- Utility knife or scissors for cutting
- Staple gun or fasteners for securing the barrier
- Measuring tape for precise measurements
- Protective gear including gloves, a mask, and knee pads
Preparing the Crawl Space
Preparation is key to effective installation. Begin by clearing the crawl space of any debris, old materials, or sharp objects. Ensure the area is dry and clean, as any existing moisture can compromise the vapor barrier’s effectiveness. If there are visible signs of moisture (like puddles or wet soil), consider using a dehumidifier or sump pump to remove the excess water before proceeding.
Installing the Vapor Barrier Effectively
With your materials ready and the crawl space cleared, follow these steps for installation:
- Roll out the vapor barrier across the crawl space, ensuring that it covers the entire ground surface.
- Overlap any seams by at least 12 inches, then use the seaming tape to secure these overlaps.
- Cut the barrier to fit around any obstructions such as posts or vents, ensuring there are no gaps.
- Use the staple gun or fasteners to secure the edges of the barrier to the walls, making sure it adheres well to prevent moisture movement.
- Inspect the installation for any holes or tears; repair them with tape or additional material as needed.
Choosing the Right Vapor Barrier Materials
Types of Vapor Barrier Materials
Not all vapor barriers are created equal. The most common materials used include:
- Polyethylene: The most popular type, known for its moisture resistance and durability.
- Foil: Excellent for reflecting heat, making it ideal for insulating warmer climates.
- Rubberized asphalt: Typically used in roof applications, it provides high durability against moisture.
Evaluating Thickness and Quality
When selecting a vapor barrier, thickness is critical. Generally, barriers are available in thicknesses ranging from 6 to 20 mil. A thicker barrier (10-20 mil) is preferred for crawl spaces, as it offers better protection against punctures and tears, thus maintaining its integrity over time.
Comparing Cost vs. Performance
While cost is an essential factor, it’s crucial to consider long-term performance. Investing in a higher-quality vapor barrier can save you from costly repairs down the line. Evaluate the materials’ warranties, manufacturer reputation, and customer reviews to help make an informed decision. Sometimes, spending a little more upfront can yield substantial savings in maintenance and energy costs later on.
Common Challenges in Vapor Barrier Installation
Dealing with Humidity Issues
One of the greatest challenges in vapor barrier installation is managing humidity levels. Prior to installation, it’s essential to evaluate whether significant moisture exists in the crawl space. Use a hygrometer to measure humidity levels. If levels exceed 50%, additional measures such as installing a dehumidifier may be necessary.
Addressing Structural Concerns
Sometimes, the integrity of the structure may be an issue, particularly if your crawl space has experienced water damage. Before installing a vapor barrier, check for rotting wood or compromised structures. If structural repairs are needed, it’s best to address these before proceeding with installation to ensure the barrier’s effectiveness.
Mitigating Installation Errors
Common installation errors can render vapor barriers ineffective. These include poor sealing, improper material choice, and neglecting overlaps. To mitigate such issues, follow a detailed checklist during installation, and consider having a professional review your work if you’re uncertain about your installation’s integrity.
Maintenance and Long-term Benefits
Inspecting Your Vapor Barrier
After installation, routine inspection is vital. A thorough check should occur at least once a year. Look for signs of damage, wear, or moisture buildup, and repair any issues immediately to maintain a barrier’s effectiveness. Regular monitoring will help to extend the life of your vapor barrier and protect your home.
Signs of a Failing Vapor Barrier
Recognizing the signs of a failing vapor barrier can save you from extensive damage. Look for:
- Visible mold growth or musty odors
- Condensation on walls or pipes
- Increased humidity levels within the home
- Deterioration or decay in wood structures
Long-term Benefits of Proper Installation
A well-installed vapor barrier not only protects against moisture but also enhances the overall energy efficiency of your home. This installation can lead to lower utility bills and a more comfortable living environment. Furthermore, by preventing mold and structural damage, homeowners can also protect their investment, adding potential resale value to their property.
Frequently Asked Questions
Is vapor barrier installation worth it?
Yes, it prevents moisture-related damage, improves indoor air quality, and can save on energy costs over time.
Can I install a vapor barrier myself?
Yes, with proper planning and materials, DIY installation is feasible, but professional help ensures quality results.
How long do vapor barriers last?
With proper installation and maintenance, vapor barriers can last 10-20 years, depending on materials used.
Do I need a vapor barrier in my climate?
Yes, moisture problems can occur in any climate. A vapor barrier helps in preventing humidity issues regardless of location.
What thickness is best for a vapor barrier?
A thickness of 10-20 mil is recommended for crawl spaces to ensure durability and effectiveness against moisture.